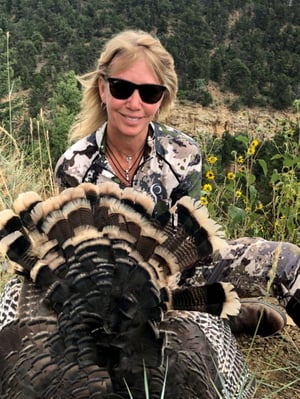
I simply love fall turkey hunting. It isn’t just a great reason to get outside as the fall hunts are starting to roll. It is another great way to put some meat in the freezer and gather up some great items for your home décor. Once the hunt is over, dressing out your bird can be done fairly quickly.
I pack what I fondly call my “Bird Box” when I do any type of bird hunting. The items can remain in a small toolbox or be packed into a backpack if you are hitting the backcountry. Here are the items I recommend:
- 1-gallon re-sealable bags
- Zip ties
- Heavy-duty clippers
- A smaller sized knife that can be easily maneuvered through the chest cavities of the birds
- A knife sharpener
- A Sharpie pen
When it comes to field dressing a turkey, many folks have differing thoughts on what they prefer from the bird. I personally prefer to breast it and take the thighs/drumsticks. I am not a fan of plucking a bird and taking the entire carcass as there is limited space in the freezer and with just two of us in the house, I am most likely never going to roast an entire turkey. Additionally, I like to take feathers and skulls from my birds. Undoubtedly, others have different ideas and techniques, but here are my tips for quick field dressing.
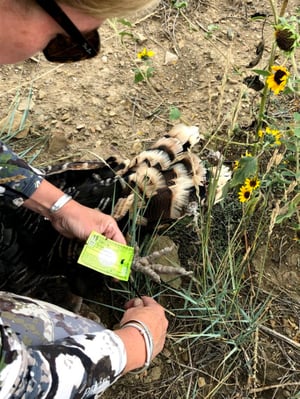
Tag the Bird
I keep zip ties for tagging after notching my tags. They are lightweight and sturdy.
Remove the Head
This is not for everyone, but I love collecting the skulls of birds to boil and bleach. They make great decorations. I keep a pair of heavy-duty clippers for removing the head. I put the head in a separate bag so I can freeze it to tend to when I have time.
Remove the Beard
I use a knife when removing the beard. Simply pull on the beard and remove it where it meets the skin.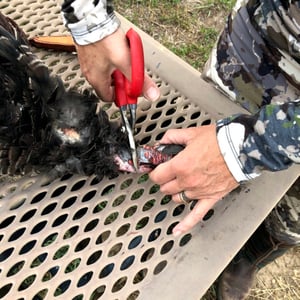
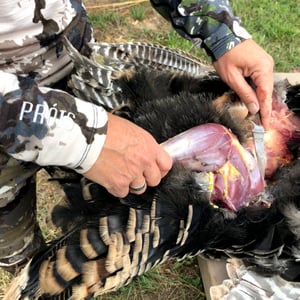
Breast the Bird
I prefer a smaller knife for this as I have more finesse with it. I had a blade custom made that I absolutely love, but any smaller knife will do just fine. Start down the sternum, following the breast bone. Slowly fillet the meat away from the rib cage until you can remove the entire breast. Do the same with both sides. Place in a re-sealable bag.
Procure the Thighs/Drumsticks
There is a large amount of meat here. I begin by removing the skin around the legs until I have exposed the thigh and drumstick. I then twist the leg backward until I can expose the joint. I cut through the joint and remove the entire portion. I then use the clippers to remove the lower leg of the NON-TAGGED leg. Keep the lower leg intact with the license until you get home. Place in a re-sealable bag.
Remove The Fan
Collapse the fan and wiggle it around a bit. You can see where feathers go into the skin. Find the joint a couple of inches back and cut through. You can keep as many or as few of the smaller pin feathers. Remove as much flesh as possible. Remove the Wings
I only do this so I can keep the wing feathers which I use for decoration and other craft ideas. I use the clippers to remove the wings, then put both wings into re-sealable bags so I can clip feathers later at home.
This entire process takes about 15 minutes. The result is a great amount of meat, the turkey fan and beard, a skull, and some beautiful feathers. The process takes about 10 minutes if you are not interested in the feathers and skulls.
In terms of meat, turkey breasts are fantastic and can be used for any turkey or poultry recipe you fancy. I prefer to use the thigh/drumsticks to create soup stock that I freeze for later use. I
pressure cook the leg and season the water with salt, pepper, garlic, and red pepper. Once tender, I pluck all of the meat from the bone and return it to the water. I freeze the stock in re-sealable bags that I can use to make any type of turkey-based soups.
About the Author
.png?width=352&name=Mossberg%20-%20960x480%20(32).png)