Hello, I'm Thomas Lynch with O.F. Mossberg & Sons. I'm a Senior Engineer here at Mossberg. Today, I'm going talk to you about how to convert your existing Model 500 Mossberg pump-action shotgun to the FLEX platform. The first kit I'm going to go through is the conversion kit for stocks. And then once we've covered that, I will also cover the conversion kit for your forend.
This is an earlier Mossberg 500. I'm just going to do a quick check here to make sure it's unloaded. Action's open. Gun is unloaded. Gun is on safe. Most important thing to do before you start. So we're going to be converting this gun, basically, from the existing rigid stock and forend to the FLEX System.
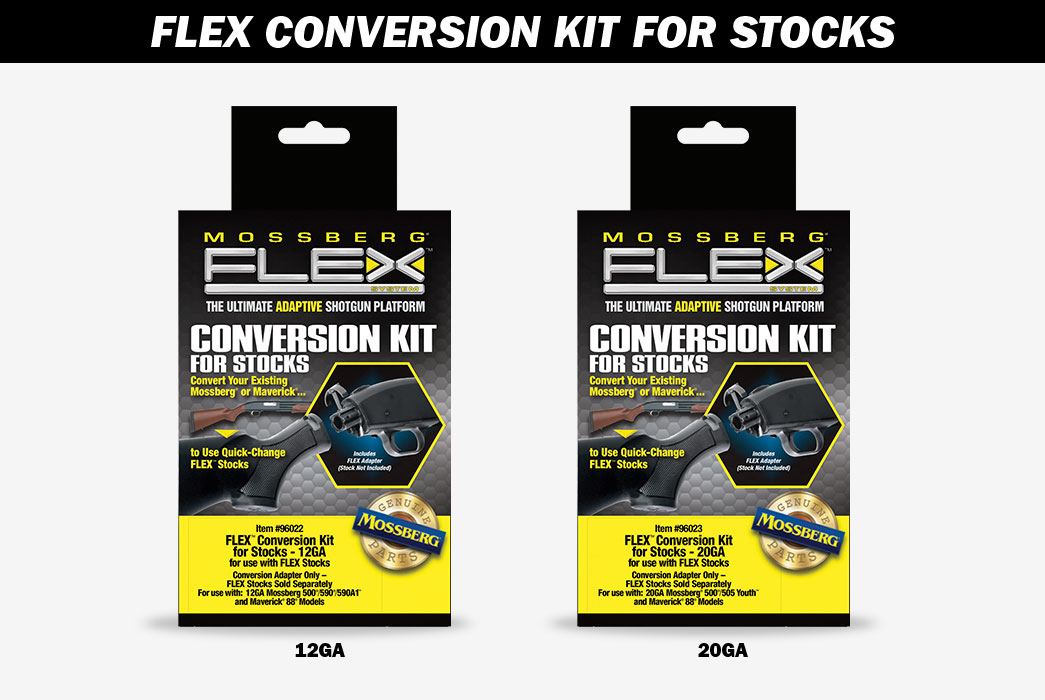
The FLEX Kit
So when you get your FLEX kit, it's going to come in this box, nicely packaged. When you open it up, you're going to find an instruction manual for converting your 500 Pump to the FLEX System. This goes over detailed steps on how to actually do the conversion, and it also covers how to attach and remove FLEX components.
In the kit, you'll also find, this is the heart of the FLEX System, the adapter that's going to go on the back of the receiver. The locking mechanism. Your roll pin, that's used to retain the locking mechanism. A screw. It's a socket-cap screw with Nylock patch and lock washer. So all of those components will be in your kit.
Tools You'll Need
The tools you're going to need: You're going to need a soft, plastic block to lay the receiver on, basically, when you're installing the adapter. You're going to need a large flathead screwdriver for removing the stock bolt on the existing stock. You can also use a half-inch socket with a long extension. That's also an option. You're going to need a Phillips-Head Screwdriver. This is a number 2 Phillips. A ball pein hammer. A 1/8th inch straight punch. 5/32 Allen Wrench, and a Torque wrench, set to 150 inch pounds. So you're going to need to assemble, get all of those tools together before you start.
Getting Started
The very first thing we're going to do, again, when you pick up your gun, check that the action is clear of any rounds. Check the chamber; the elevator. Make sure the action's open; and make sure the gun is on safe. And again, be cognizant of people around you, and keep the gun in a safe direction at all times.
The first thing we're going to do is remove the stock, so we'll set the gun on the vice here, basically gently in this soft vice, and I'm going to remove there recoil pad. Recoil pad is held on with two Phillips-Head screws. These things have quite a bit of travel to them. So the recoil pad is removed, so we're going to reach in here, remove the stock bolt.
We have the stock removed. So the next thing we're going to do is attach the adapter. Now the adapter basically sits on the back of the receiver, very similar, same mount as the stock. And it's held on with this low profile head socket cap screw.
When you put on the lock washer, make sure the cup side is actually facing towards the receiver. So we're going to mount it on the screw, cup side this direction. You're going to use a 5/32 Allen Wrench to thread this on. It does have Nylock patch on it, so you're going to experience considerable resistance as you crank this down. So don't be alarmed. It doesn't mean you have a bad tread, it just means you going to get through the Nylock patch. Going to crank it down hand tight, then we're going to take our Torque Wrench. So the Torque Wrench is set to 150 inch pounds.
Now we have the FLEX adapter physically attached to the receiver. The next step is to put in the locking mechanism. So the very first step is to make sure the latch is up. As you insert it, the lock assembly has a slot in it that engages a small pin that protrudes into the lock assembly home on the adapter. So that creates the alignment of the lock assembly.
So when you install it, make sure that little pin engages the slot in the lock assembly. And you're just going to drop it. You can drop it down until it stops. Then you're going to lay it flat on a bench. And you're going to rest the back of the receiver on the soft block. This is a roll pin that holds in the lock assembly. We want to keep the slot in the roll pin facing towards the back of the adapter. Then you're just going to drive it in. As you drive this pin in, this pin engages an annular recess in the lock assembly, and that's basically what holds in the lock assembly. So as you drive in the pin, you just need to watch, make sure it engages that annular recess. So as you're driving in the pin, just watch it in from the back, that way you can make sure you get the engagement.
You may have to move the lock assembly very slightly up or down to make sure that pin engages that annular groove. So when it does, it will be pretty firm with little bit of play, just like that. Once you engage it, then you can drive the pin home. Then use the 1/8th punch just to drive the slightly below the surface. And that's it.
So now we have the adapter assembly installed. This will turn 90 degrees clockwise. Push it back down. Just like so.
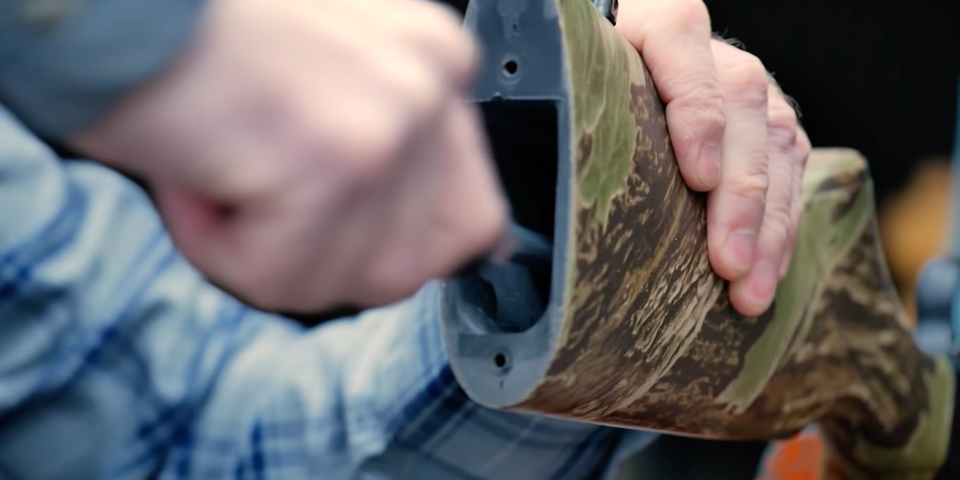
Attaching a FLEX Stock
This is a standard FLEX stock. You pull up the locking, basically the locking latch, turn it 90 degrees counterclockwise, push on the stock. You're going to need to hit the stock, basically, a couple good taps on the recoil pad just to drive it forward on the adapter. Turn the lock 90 degrees clockwise and push it down. And you're good to go.
To remove the stock, you basically pull up the lock, turn it 90 degrees counterclockwise. You may have to tap on the stock just to break it loose. And then pull it off. And it's always best to keep this in the home position down, so it doesn't get hit or bumped or something.

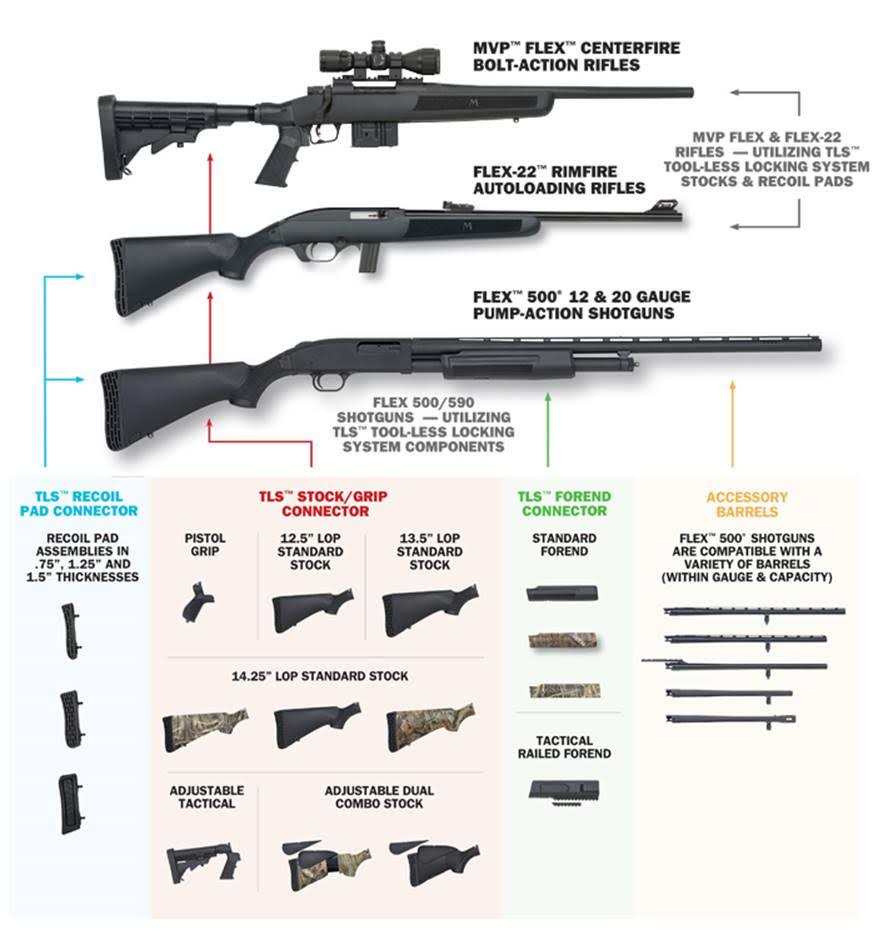
FLEX YOUR MOSSBERG 500 or Maverick 88 with the most revolutionary concept in shotgun customization!